How to Install Pleated Drapes
A beautifully pleated panel can fall flat — literally — if the installation is done poorly. Proper installation is what transforms precisely calculated and fabricated drapes into a finished product that hangs cleanly, operates smoothly, and looks professional. This guide covers the full installation process from mounting hardware to making final adjustments.
Before You Begin
Successful installation starts well before anything goes on the wall. Confirm the following before beginning any work:
- Hardware type matches the pleat style: decorative rod with rings for pinch pleats, track system for ripplefold, traverse rod for draw panels
- All brackets, screws, anchors, and support hardware are on hand
- Finished panel dimensions have been verified against the window and hardware measurements
- Hooks or pins are the correct type and drop length for the heading style
- A step ladder, level, drill, tape measure, and pencil are ready
Step 1: Mount the Brackets
Bracket placement determines how high and how wide your drapes will hang. Getting this right is critical to the final appearance.
Height
For a standard installation, mount brackets 4" to 6" above the window frame. For a ceiling-height look, mount them as close to the ceiling as possible. The higher the rod, the taller and more dramatic the drapes will appear.
Width
Extend brackets 3" to 6" beyond each side of the window frame. This allows the panels to stack off the glass when open, maximizing natural light and making the window appear larger.
Anchoring
Always anchor into wall studs when possible. If mounting into drywall alone, use heavy-duty toggle bolts or wall anchors rated for the total weight of the rod and panels. Pleated drapes with lining can be surprisingly heavy. Underestimating this is one of the most common installation failures.
Step 2: Install the Rod or Track
With brackets secure, set the rod into the bracket cradles or snap the track into its mounting clips. Use a level to confirm the hardware is perfectly horizontal. Even a slight angle will cause panels to slide to one side.
- For decorative rods, add the end finials after placing the rod and before hanging panels
- For traverse rods, ensure the cord lock and master carriers operate freely before adding fabric
- For ceiling-mounted tracks, verify all gliders or carriers are loaded and moving smoothly along the full length
- Add center support brackets for any rod span exceeding 48" to prevent bowing under load
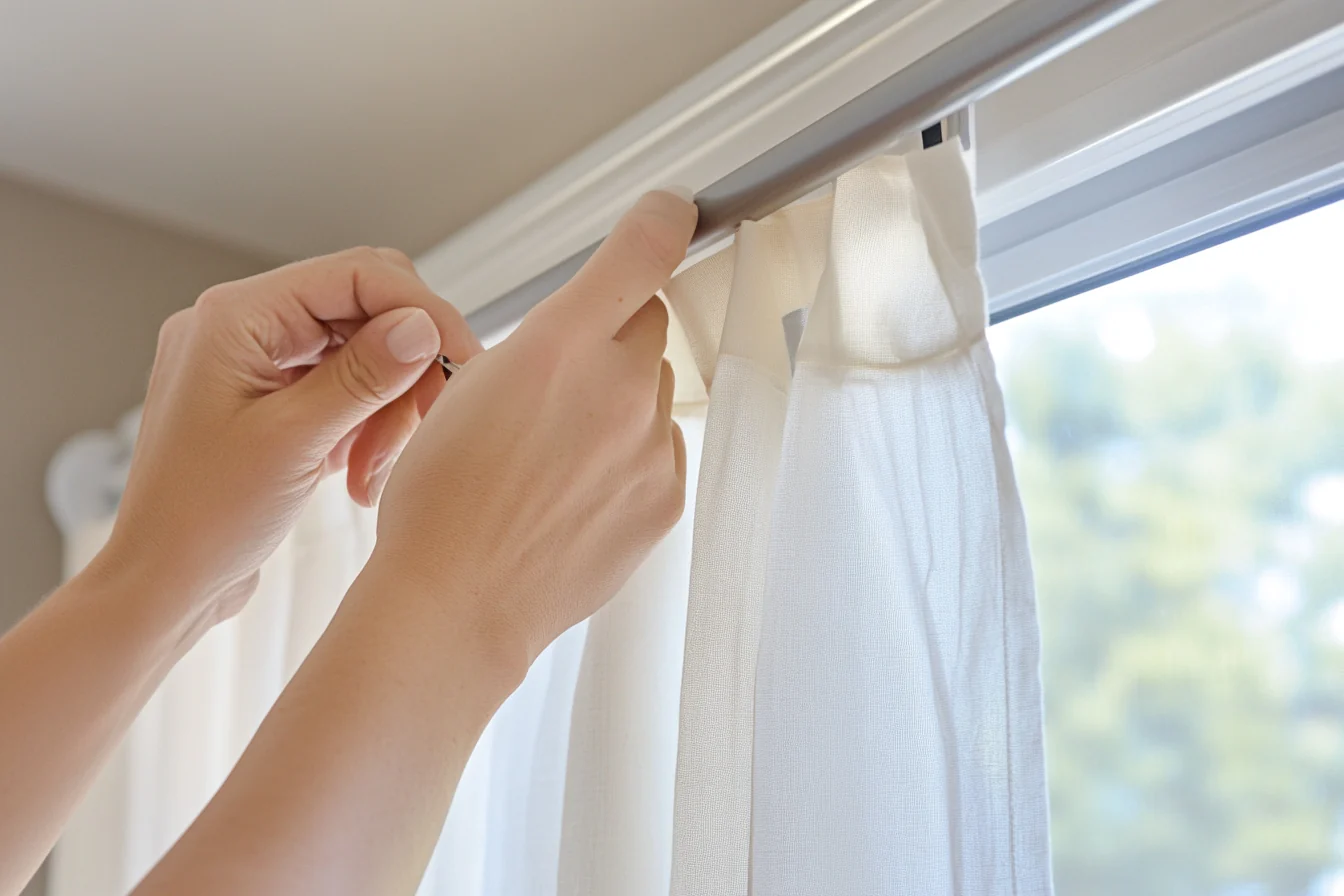
Step 3: Insert Hooks or Pins
Before hanging the panel, insert the drapery hooks or pins into each pleat. The placement of the hook determines the "drop" — how far below the rod or track the top of the fabric will sit.
Pin-On Hooks
Insert the sharp end of the pin through the back of the pleat, approximately ½" below the top edge. All hooks should be set at the same height across every pleat for a uniform heading line.
Slip-In Hooks
Slide the hook into the designated pocket in the buckram or pleating tape. These hooks can be repositioned easily if the heading height needs adjustment after hanging.
Ring Attachment
If using drapery rings on a decorative rod, clip or pin the ring to the top of each pleat. Ensure the ring opening faces forward so it glides over the rod without catching.
Step 4: Hang the Panels
With hooks inserted, hang the panels one at a time. Start from the outside edge (the return side) and work toward the center.
- Return hook: The outermost hook wraps around the end of the rod or track, bringing the fabric back to the wall. This eliminates the gap between the drape edge and the wall.
- Overlap: For a center-draw pair, the leading edges of each panel should overlap by 2" to 3" at the center for full coverage when closed.
- Even spacing: Distribute the hooks evenly across the rod or track. The pleats should appear uniformly spaced when the panel is fully extended.
EZ Pleating calculates exact pleat and space positions for every panel, so hooks land precisely where they need to during installation and no guesswork on the ladder.
Step 5: Train the Pleats
New pleated drapes rarely hang perfectly right out of the package. Training the folds is an essential final step that many installers skip, and it makes a noticeable difference.
- Close the panels fully and arrange each fold by hand so that the pleats face forward and the spaces between them fall to the back
- Use drapery training strips or loosely tie the panel at the top, middle, and bottom to hold the folds in position
- Leave the panels tied for 48 to 72 hours to allow the fabric to develop memory in the correct fold pattern
- Steam the folds lightly from behind if using a fabric that responds well to heat to accelerate the training process
Step 6: Final Adjustments
After training, remove the ties and inspect the panels. Check for:
- Hem level: The bottom hem should be consistent across the full width. If the floor or sill is uneven, minor adjustments at the hook drop can correct small variations.
- Break length: Decide whether the drapes should kiss the floor, puddle slightly (½" to 1" of fabric on the floor), or hover ¼" above it for a clean tailored look.
- Smooth operation: Open and close the panels several times. If they catch, stick, or bunch, check for bent hooks, a misaligned carrier, or an undersized ring.
- Return alignment: Confirm the return wraps cleanly to the wall without gapping or pulling.
Common Installation Mistakes
- Mounting brackets too low, making the drapes look short and the window feel smaller
- Skipping wall anchors in drywall, leading to hardware pull-out under the weight of lined panels
- Setting hooks at inconsistent heights, causing a wavy and uneven heading line
- Forgetting to account for returns and overlap, leaving light gaps at the edges and center
- Not training the pleats after hanging, resulting in panels that fold randomly instead of falling into clean, uniform waves
Summary
Installing pleated drapes is a methodical process where each step builds on the last. Correct bracket placement, level hardware, proper hook insertion, and pleat training are what separate a professional installation from a DIY one. Taking the time to get each detail right ensures the drapes hang beautifully and operate reliably for years.
EZ Pleating supports the entire process by producing precise pleat positions, spacing, and panel dimensions — so when it's time to install, every measurement is already dialed in.